Sharpening a bread knife
How do I sharpen a bread knife? Sharpening a bread knife is considered to be difficult. Some people even think that it is impossible, but this is not the case. We have listed 3 methods to sharpen your bread knife.
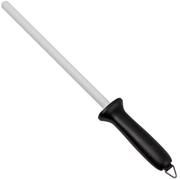
Sharpening with a ceramic sharpening steel
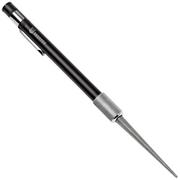
The best method is to use a sharpening steel. This allows you to sharpen tooth for tooth. A diamond-coated sharpening steel is also an option. It could, however, be a little too coarse. That is why we prefer a ceramic sharpening steel. It is important to choose a sharpening steel whose diameter matches the serrations of your knife. When your sharpening steel is too thick, you will not fit quite right into the serrations and then sharpening is pointless. The sharpening steel by Lansky has a diameter of 8mm and is therefore thin enough for sharpening most bread knives. Then again it is so thin, that it takes a bit more work to hit the entire serration of a more coarse serration. The sharpening steel by Edge Pro is a bit thicker, measuring 13mm, but fits well for many breadknives. The Skerper sharpening steel measures 14mm and is a good option for coarser types of serrations. Do you own a bread knife or serrated knife with small serrations? Consider a sharpening pen such as the Skerper Basic sharpening pen. It has a diameter of only 6.2 mm.


?%24center=center&%24poi=poi&%24product-image%24=&fmt=auto&poi=%7B%24this.metadata.pointOfInterest.x%7D%2C%7B%24this.metadata.pointOfInterest.y%7D%2C%7B%24this.metadata.pointOfInterest.w%7D%2C%7B%24this.metadata.pointOfInterest.h%7D&scaleFit=%7B%28%24this.metadata.pointOfInterest%29%3F%24poi%3A%24center%7D&sm=c&w=762)
You sharpen the knife on one side only. Often this is the right side. However, with most knives you can easily tell on which the side the serrations are set. You sharpen the knife by laying the sharpening rod in the serrations, tooth after tooth and moving it up and down. It is very important to take a good look at the edge every now and then while sharpening, to make sure that you hit the full length of the serration. You might have to hold the sharpening rod slightly slanted. We advice to lay the bread knife flat on the edge of a table. This way, you avoid accidents and it will be easier to come to a constant sharpening result.
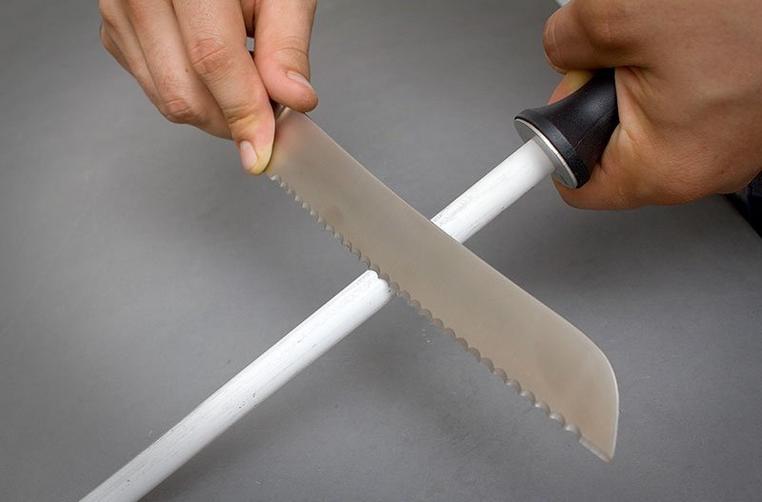
When you sharpen the serrations on one side, a burr will emerge on the other side of the blade. You can easily remove this burr by moving the knife slightly slanted over a sharpening stone one time. A down side of this is that you can scratch the blade. Another option is to use the sharpening rod to run all the serrations one by one. This way you remove the burr, but keep the back of the serration undamaged.
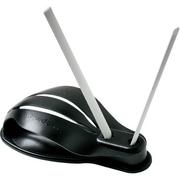
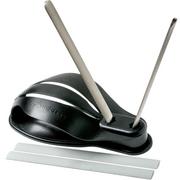
Sharpening a bread knife on a Spyderco Sharpmaker
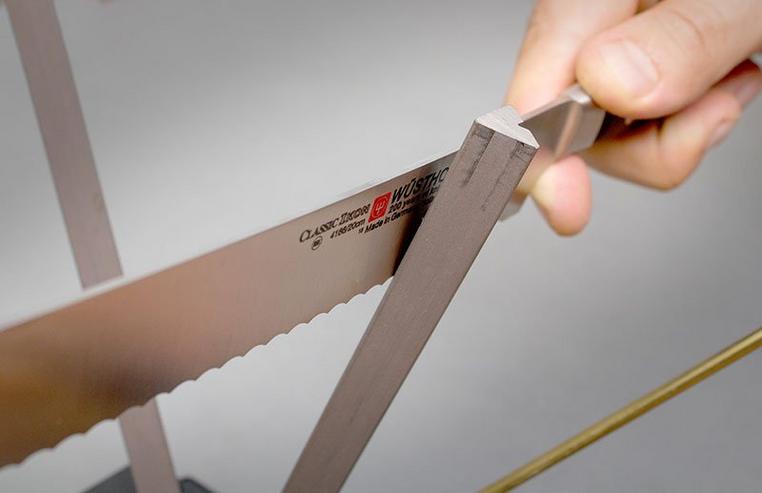
The Spyderco Sharpmaker is a favourite for many who sharpen at home. Many pocket- and kitchen knives have gotten a razor sharp finish on the Sharpmaker. However, you can also use it to sharpen bread- and serrated knives. To do this, you place the angular side of the sharpening rod on the side of the knife where the serrations are set. On the other side, you place the flat side of the sharpening rod in the holder.


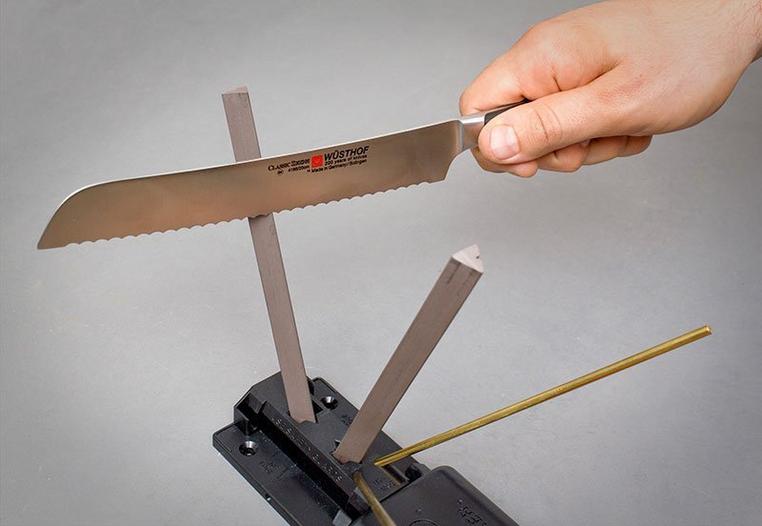
Then you move the side where the serrations are set very quietly along the sharpening side. The same as when sharpening a normal knife, except a lot slower. This way, the angular side of the sharpening rod can sharpen between the serrations. Make sure you have the right angle when you sharpen. It is very well possible that you have to keep the knife more slanted than an average Chef's knife. You do this about 5 times. After this, you very slowly move the knife along the other sharpening rod once. This way you remove the burr that emerged after sharpening the serrations. Here too, pay attention to the angle, because that is different for each knife.
Sharpen a bread knife on a Chef’s Choice
Some electric sharpeners by Chef’s Choice can also sharpen serrated knives. To do this, you pull your blunt serrated knife through the last polishing phase on the machine. This will sharpen it, but in the long run you will notice that this knife is losing its' serrations because they are grinded off.
Sharpening table knives
Sharpening table knives may seem simple, but with serrated knives it is often a time-consuming task that rarely delivers a neat result. Serrated knives also do not become dull very quickly and usually don’t need to be razor sharp. You can sharpen a table knife yourself with a sharpening rod that fits exactly into the serrations, but the result is rarely tidy and you still have to sharpen each serration separately. In many cases, buying a new knife is the better option. If you want to sharpen cutlery knives, choose cutlery and table knives without serrations. They are easy to maintain and will remain pleasant to use for years.


