Dutch Oven: seasoning and cleaning
A cast-iron Dutch Oven is a versatile pan. With a Dutch Oven, you can prepare practically any meal. The cast-iron material ensures an even heat distribution, making it perfect for slow-cooking, roasting and baking. In order to fully enjoy your Dutch Oven, it is important to season it properly, clean it regularly and maintain it well. In this article, we will explain every step of how to maintain your Dutch Oven.

The process of seasoning your Dutch Oven provides a natural non-stick coating that protects the cast iron against rust. You season your Dutch Oven using oil. This oil fills the pores of the cast iron and forms a layer between the iron and your food. You can season a Dutch Oven in different ways, namely on the stove, in the oven or over an open fire such as a campfire or bbq. All methods are explained below. Choose the one that works best for you. A new Dutch Oven should be washed first to remove residue from manufacture. If your Dutch Oven has been used more than once, you should also clean it to remove any food residue.
Cleaning your cast-iron Dutch Oven before seasoning
- Cleaning: before starting seasoning the pan, make to thoroughly clean the Dutch Oven. Use warm water and a mild detergent to remove any factory residues. Gently scrub the pan using a soft dish brush to clean the surface. Rinse the Dutch Oven well and dry it thoroughly.
Seasoning your cast-iron Dutch Oven
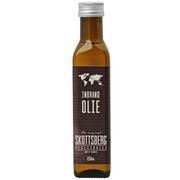
- Applying the oil: apply a thin layer of vegetable oil to the entire surface of the Dutch Oven, including the lid. Choose an oil with a high smoke point, like linseed oil, rapeseed oil or grapeseed oil. Make sure you cover both the inside and outside of the pan. Remove excess oil with a clean cloth or paper towels. Please note: it's important that it's a thin layer of oil. A puddle of oil, for example, will not season your pan well.
- In the oven: this method is popular and easy. Heat the oven to 200°C. Place the pan, upside down, on the grid in the oven, this way the excess oil can drip out. To keep the oven clean, place a baking sheet below the pan. Bake the pan in the oven for 1 to 2 hours. Let the pan cool down in the oven.
- On the stove: this is a practical alternative if you don't have an oven or an open fire. Apply a thin layer of oil to the inside and outside of the pan. Heat up the pan on the largest burner of the hob until the oil starts to smoke. Move the pan during the process to ensure the oil is evenly distributed.
- With a camp fire: the most fun way of seasoning your cast-iron pan is over a fire. Clean the pan well and apply a thin layer of oil. Place the pan over the fire or on the barbecue and let it heat up for 20-30 minutes until the oil starts to smoke. Remove the pan from the fire and spread the oil through the pan with a piece of cloth. Be careful! The pan and the oil will be very hot at this point. The oil will start to smoke and voilà: your pan has been seasoned.
- Make sure the Dutch Oven cools off properly. This ensures that the seasoning layer cures well. If necessary, repeat the seasoning process.
Cleaning your Dutch Oven
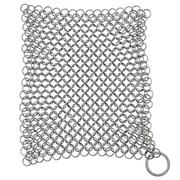
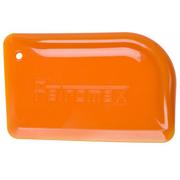
Let the Dutch Oven cool completely after use. Do not try to clean it while it is still hot, this may cause damage. If you put cold water in a cast-iron pan while it is still hot, for example, there is a chance that the pan will crack. Use a wooden or silicone spatula or special scraper to remove any remaining food rests from the Dutch Oven. Be careful not to damage the seasoning layer. Then fill the Dutch Oven with warm water and use a mild detergent to clean it if necessary. Use a soft sponge or dish brush to clean the inside and the outside of the Dutch Oven. Should you want to do something a bit more thorough, the Lodge Chainmail & Silicone Scrub Sponge is a safe option. Don't use rough scrubbers or steel wool, as these can remove the seasoning. Rinse the Dutch Oven thoroughly to remove any soap residue. Dry the pan well to prevent rust from forming. Make sure that both the inside and the outside of the pan are completely dry.
Storing your Dutch Oven
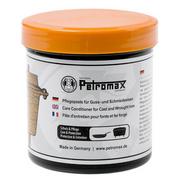
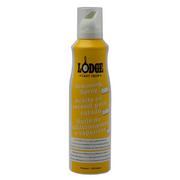
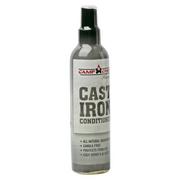
After cleaning and drying, apply a thin layer of oil to the inner and outer surfaces of the Dutch Oven. This helps to maintain and protect the seasoning. You can use sunflower oil, Petromax Care and Seasoning Conditioner or the Lodge Seasoning Spray. Store the Dutch Oven in a dry place, leaving the lid cracked open a bit to allow air circulation and prevent moisture build-up. Regular maintenance and cleaning the pan after each use will help keep your Dutch Oven in good condition and extend its lifespan. Avoid using harsh chemicals or abrasive materials that may damage the seasoning or surface of the Dutch Oven.